
Hello Lovelies ,
Well , what was going to be a simple pattern has actually turned out to be a detailed tutorial. It's taken quite a lot of work , but I wanted to make things as straight forward as possible . I'm hoping a few of you who haven't tried this sort of crochet before will be encouraged to give it a go .Or if you have struggled in the past this will explain a few things .
As with all amigurumi this bunny is worked in a spiral so no joining rounds.However this means you will need a stitch marker ( I'm using a safety pin ) to keep track of where each round begins . Its also important to have some paper and a pen handy to write down where you are up to.

The only stitch is U.S. single crochet = sc ( U.K.double)
So here goes :0)....
Round 1
Start with chain 2 ....

Make 6 sc in second chain from hook....insert hook here


1 sc made

6 sc made
Round 2
make 2 sc in each stitch around. starting with number 1 in the previous image. If you are not sure where to start , I find it easiest to count backwards from my hook. As you go round remember to count up to 12 then you will know when to stop.

Note working 2 stitches together in 1 stitch from the previous row is an increase stitch but I don't refer to them as that.
At this stage I start marking the beginning of each row with a safety pin, which is removed at the end of each round and reinserted in the first stitch of the following round .So the start of round 3,after I've made the first stitch , looks like this....

Round 3
sc in the next stitch,2 sc in the following stitch.Repeat this pattern 6 times (18 stitches)

Round 4
sc in the next 2 stitches, 2sc in following stitch,repeat around (24 stitches)
Round 5
sc in the next 3 stitches ,2 sc in the following stitch, repeat around (30 stitches)
Round 6
sc in the next 4 stitches , 2sc in the following stitch , repeat around ( 36 stitches)
Rounds 7 to 13
sc in each stitch around ( 36 stitches)

Round 14..this is where we begin to decrease for her neck.
sc in next 4 stitches ,sc decrease ( sc dec). repeat around (30 stitches)
This is how you make an sc decrease.....
insert hook in next stitch,yarn over and pull through ( 2 loops on hook) ....

Insert hook in following stitch , yarn over pull through , 3 loops on hook....


Yarn over and pull through all three loops...sc decrease made ....


Round 15
sc in next 3 stitches, sc dec , continue around (30 stitches)
Round 16
sc in next 2 stitches,sc dec, continue around (24 stitches)
Round 17
sc in next 2 stitches ,sc dec , continue around ,this round will finish with 2 sc (14 stitches)
Round 18
sc in each stitch around (14 stitches)
Hurray you've finished the head..

carry on for the body with...
Round 19
sc in next 2 stitches,2 sc in next sc, continue around , this round will finish with 2 sc(18 stitches)
Round 20
2 sc in first stitch, sc in next 2 stitches ,continue around(24 stitches)
Round 21
2 sc in next stitch , sc in next 3 stitches ( 30 stitches)
Rounds 22 to 26
sc in each stitch around
Round 27
sc in next 2 stitches , sc dec, continue around , this round will end with 2sc.
At this stage add her stuffing( and possibly a little bell if this is for a baby)....

Round 28
sc in next stitch , sc dec, continue around , this round has to end with 2 sc (16 stitches)
Round 29
sc dec 8 times around (8 stitches)
finish off leaning a long tail for sewing ( you can add a bit more stuffing at this stage if needed )....

Sew a running stitch around the bottom stitches and close up hole...


Next make 2 ears ....
These are also worked as a spiral.Begin in the same way you did for the head.
Round 1
chain 2 , then 5 sc in second chain from hook
Round 2
make 2 sc in each stitch around (10 stitches )
Rounds 3 to 12
sc in each stitch around .
When working with little tubes of crochet like this I find it easiest to insert my middle finger in the centre , but just do what seems easiest for you and don't forget to mark the round with a marker of some description and write down the rounds as you go ......

Round 13
sc in next stitch, sc dec around (7 stitches). Finish off.
Remember to leave a long tail for sewing

Repeat for ear 2.
Last bit of crochet now , the....
little white tail ....
Again begin the same way and mark rounds
Round 1
Chain 2 , 4 sc in second chain from hook
Round 2
2 sc in each stitch around (8 stitches)
Round 3
sc in next stitch, 2 sc in the following stitch, repeat around ( 12 stitches )
Round 4
sc in each stitch around
Round 5
sc in next stitch, sc dec in following stitches ,repeat around (8 stitches)
Stuff
Round 6
sc dec around ( 4 stitches )
Finish off leaving long tail for sewing .
Next add fabric to the ears ....

cut out an fabric shape slightly larger than the ear
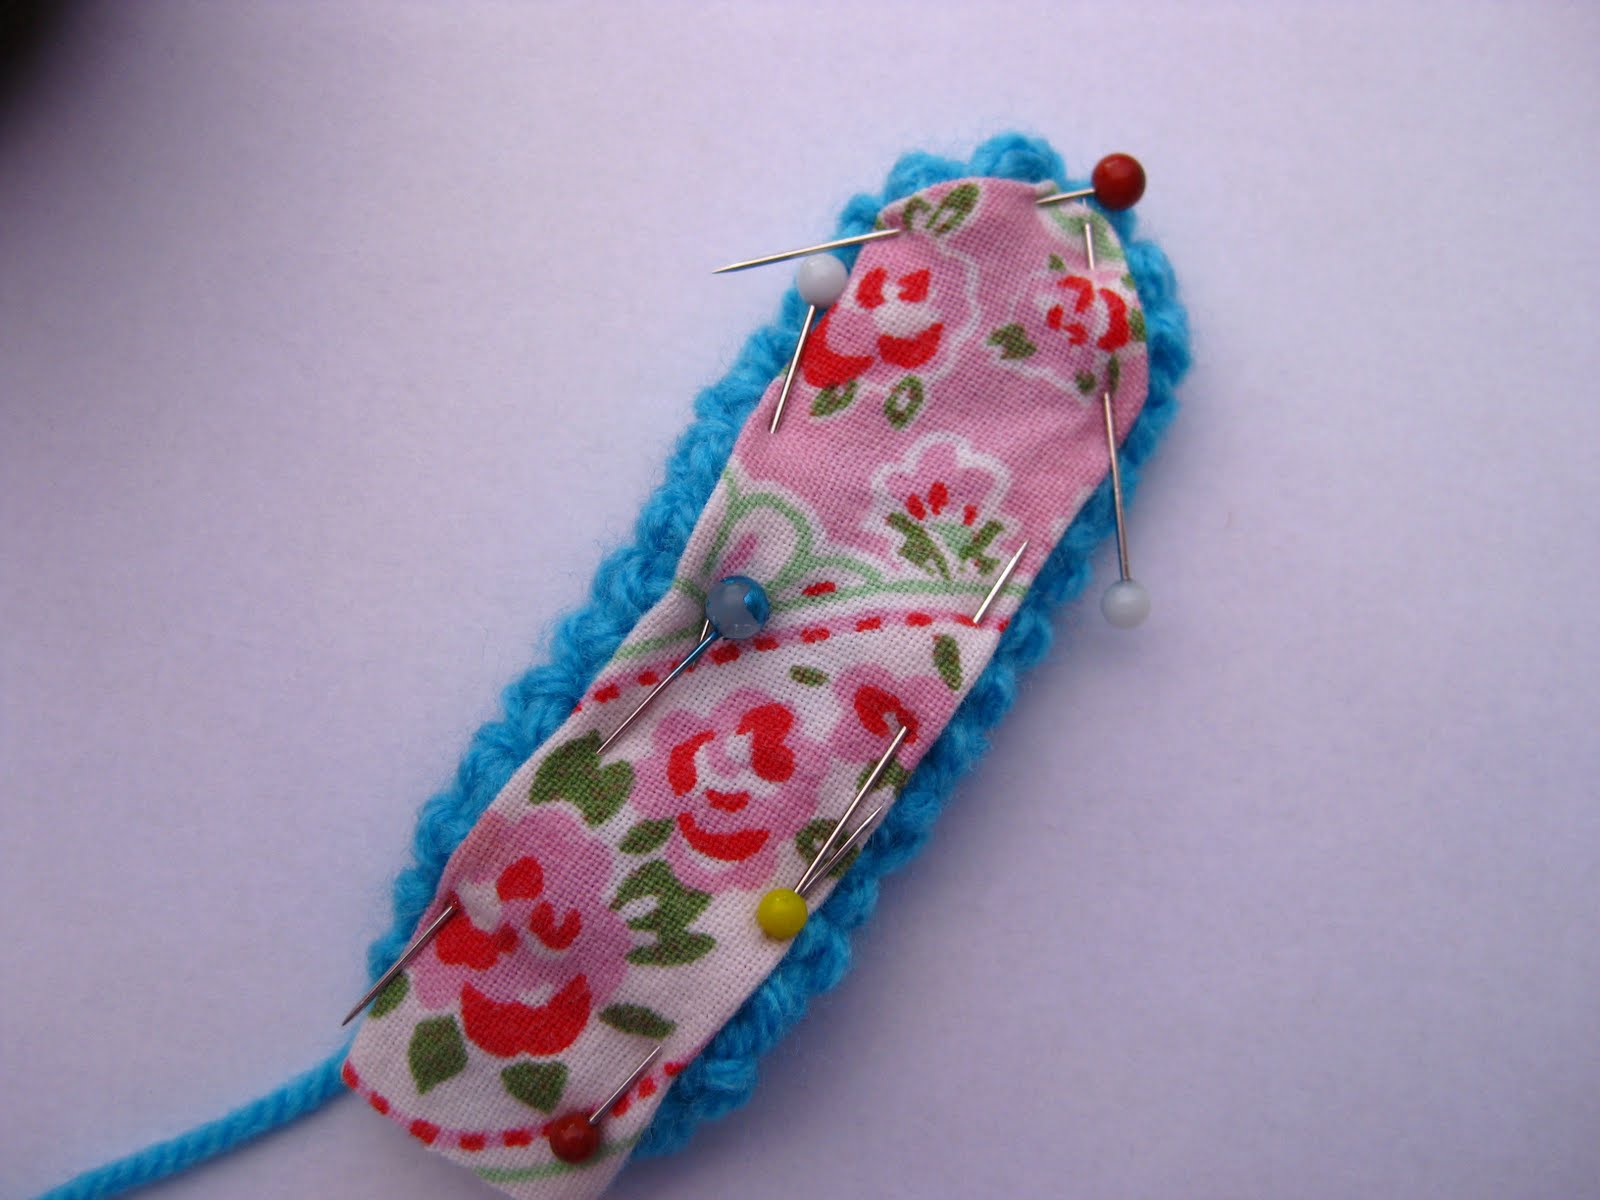
turn under a hem and pin in place

Sew fabric to crochet using any stitch you prefer
Bend in bottom of ear and sew using tail of wool....


Next attach her tail using the same method . Then there's just the face to add.
For my second bunny I've tried a different style of face .This one has a mouth ( coz the boys said the first bunny didn't look right without one)
I've also used beads for the eyes as this bunny is not intended as a small children's toy so it is safe to do so.

As you can see lovely lilac bunny was not sure what to think when she met her turquoise cousin ....

But they soon got chatting and became good friends....

Boy this has taken ages
we are all pretty pooped now ....

So it's goodbye from me and its goodbye from them...
.

Happy Amigurumi-ing
Jacquie x
Brilliant tutorial and super cute bunnies! Rachael Xx
ReplyDeleteGreat work, Jacquie!
ReplyDeleteCaz :)
awwwwww.....they are so adorable Jacquie :D
ReplyDeletewell done! what a fabulous tutorial, Thank you!
love their little tails ;)
These are gorgeous. I've just got to have a go. Thank you for posting such a great tutorial.
ReplyDeleteAnne xx
Oh Jacquie, they are just two cute and their little tails, sweet.
ReplyDeleteYou've certainly gone to a lot of effort with the tutorial, well done. I would love to give it a go, when I get back into crocheting.
Two bunnies, I think you've started something here.........
Claire :}
I just LOVE those ears. I am going to make one to be friends with one I made from greedy for colour. Fantastic tute thank you.
ReplyDeleteToy safety eyes are what I use in my Amigurumi (I get them from ebay). It's so difficult to get the backs on I don't think a baby would ever get them off. The only disadvantage with safety eyes is you have to put the eyes on before the head is finished so you have to be pretty confident about where you want them.
ReplyDeleteThose are so cute. Great Tutorial you have explained that in such great detail. I would love to try it but i wouldn't have a clue how to decrease etc but i will get there ;-)) dee x
ReplyDeleteVery nice pattern - thanks for sharing with us.
ReplyDeleteGreat tutorial, thanks.
ReplyDeleteI hope the cousin is a girl as well or you'll be over run with cute bunnies!
lovely bunnies!!
ReplyDeleteand the final photo is so fun!!
kisses
T H A N K Y O U for taking the time to write this all up with all the photos etc, the bunnies are too cute! I love them both :o)
ReplyDeleteI remember you saying that you could put a bell thing in the middle to turn it into a rattle type toy - when do you think it would be best to pop that in?
Ahh thank you Jacquie, gorgeous post xxx
oh good grief, I'm clearly going mad today... you tell us exactly where to put the bell :oS Ignore me... I am just over excited by the cuteness and the thought of having a go!!! xx
ReplyDeleteJacquie, these are so adorable. I'm definitely saving this tute on my favourites. I can't possibly continue crocheting granny squares for ever more. These bunnies may well be my next project. You are amazing!
ReplyDeleteThey look too cute! Thanks for sharing the tutorial.
ReplyDeleteYour tutorials are just fabulous, Jacquie!
ReplyDeleteThanks a lot for this one! I know it´s a hard work!! :)
Very cute - love the fabric ears.
ReplyDeleteBunnies and crochet.... now how can I resist! Thank you so much for this tutorial. It is going on my 'to do next' list.. which is getting longer ;)
ReplyDeleteHi, I wondered if it would be ok to link to this page from ours as we provide knitted and crochet blankets, hats and toys to hospitals for babies which have sadly died and your bunnies are perfect! Lucy
ReplyDeleteAwww... these are so cute! I might have a go at them someday. I really like the lovely fabric in the ear "effect" :-). Thanks for the pattern!
ReplyDeleteI am a beginner at crocheting, and I love this tutorial, I think I can do it! I am going to attempt this bunny in a few weeks. Thank you so much for the great explanations and photos on this tutorial. :)
ReplyDeleteOhh my, these are sooo cute!
ReplyDeleteThis comment has been removed by the author.
ReplyDeleteAmazing! could you tell me which size hook to use? I'm using 5mm on what I presume is double knit wook (UK) but its proving too holey for the stuffing!! Thank you
ReplyDeleteHi, I can't remember exactly which hook I used for this project. I usually use a 4.00 mm hook with double knitting yarn, but I think 3.5 mm would give a more solid finish. I should add this to the tutorial
ReplyDeleteThank you
Jacquie x